
It’s been a hot minute since my last blog post! Life has a way of pulling us in all directions, but I finally carved out some time to sit down and write a new #FreelanceFreedom entry.
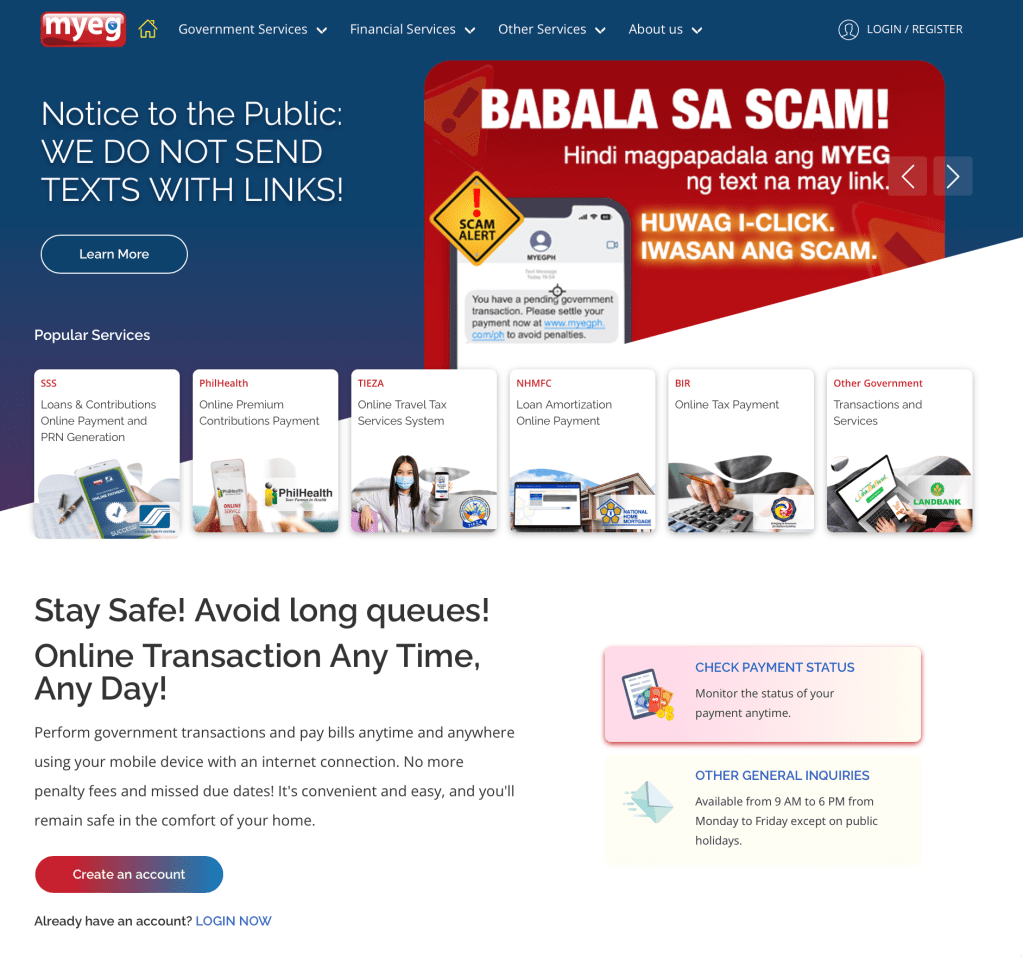
This time, I’m featuring MYEG Philippines — a joint venture with Malaysia’s MYEG, the pioneer of eGovernment services launched back in 2000. Here in the Philippines, MYEG serves as a one-stop payment gateway for government contributions and more. It offers a seamless experience with multiple payment options — from bank transfers, credit and debit cards, and e-wallets to over-the-counter transactions available at more than 10,000 payment counters nationwide.
Here are the things you can do in MYEG PH by categories:
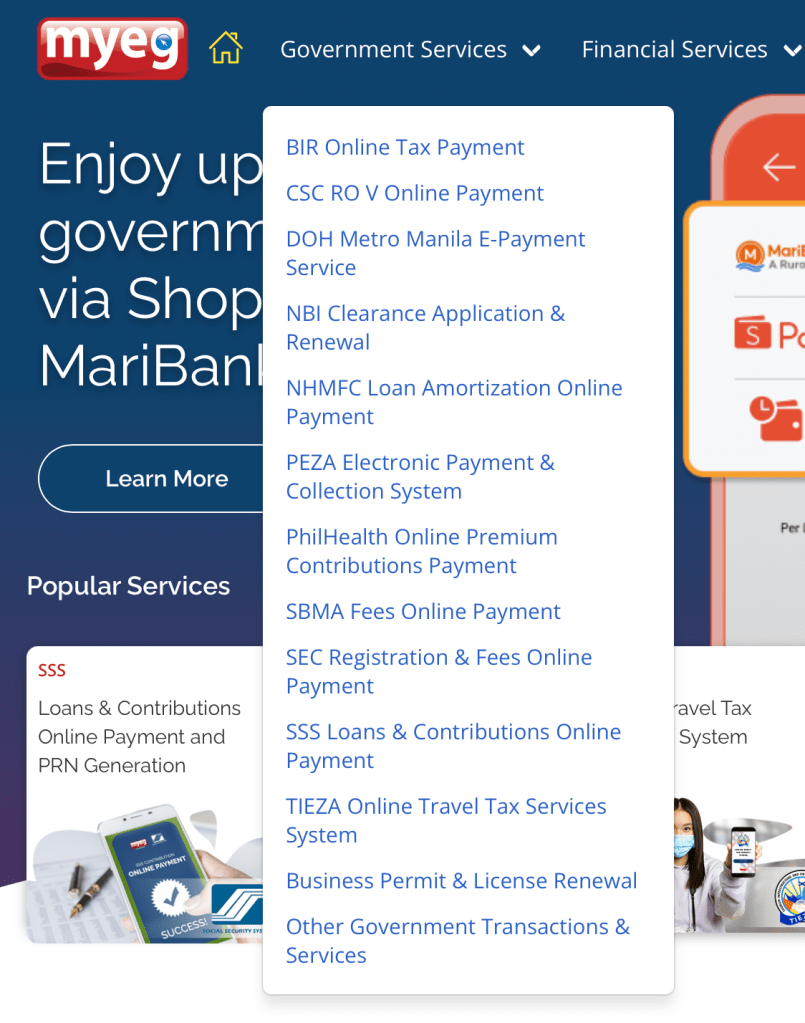
Government Services
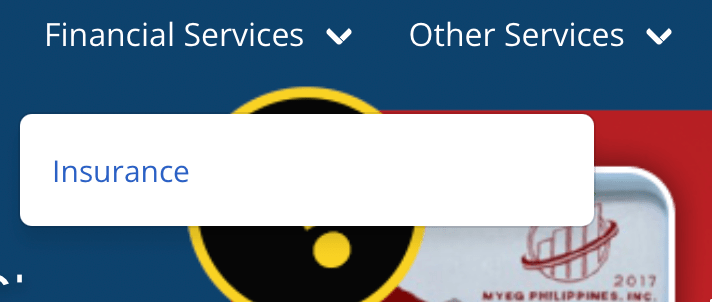
Financial Services
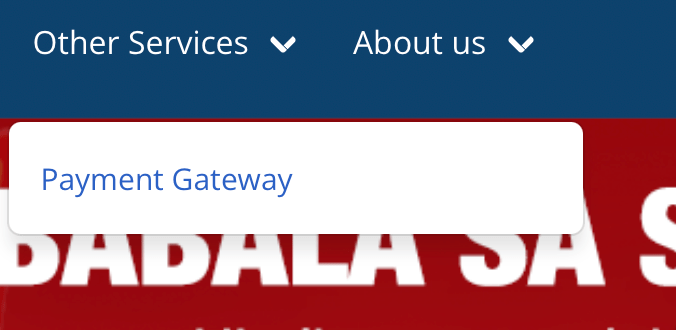
Other Services
Here is the breakdown per category (note this is as of Oct 2025):
Government Services
Financial Services
Other Services
And here are the most common services MYEG PH is used for:

As most of you know, I’ve been living the #FreelanceFreedom lifestyle for over three years now and to be completely honest, one of the trickiest parts is keeping up with government contributions. Since there’s no automatic payroll deduction like in corporate jobs, I rely on a series of recurring alarms for each payment. And whenever there’s an option to pay quarterly, I always take it!
When it comes to my SSS contributions and loan payments, I used to go through the whole process manually generating a PRN from the SSS website, then heading over to UnionBank Online to complete the payment. It worked, but it was definitely a long and repetitive process. And since I recently increased my monthly contribution, I had to go through this routine every single month.
For my Pag-IBIG contributions, I prefer paying quarterly as well. Unfortunately, it’s not yet available on MYEG, so for now, I still make my payments through their website unless they finally add it in MYEG.
How to Create MYEG PH account
1. Visit the official MYEG PH website at https://www.myeg.ph and click Login/Register on the top right corner.
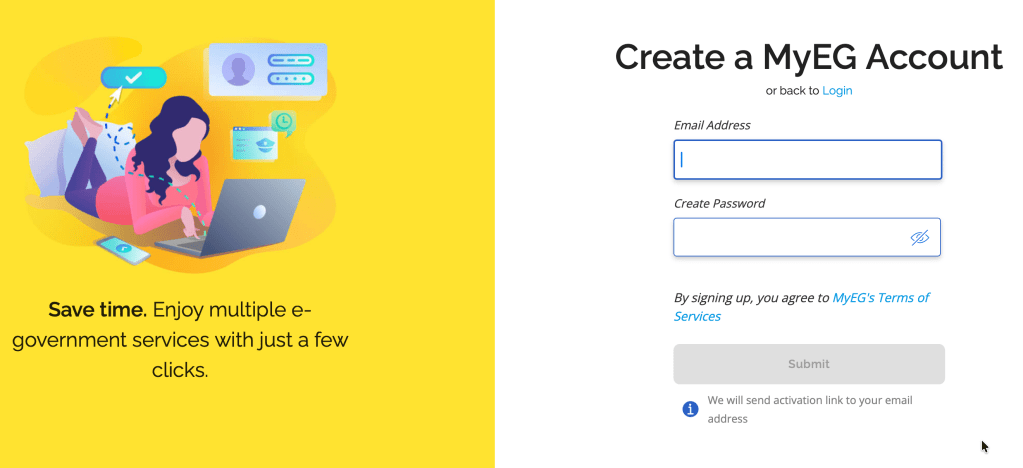
2. On the next page, choose Sign Up Using Email.
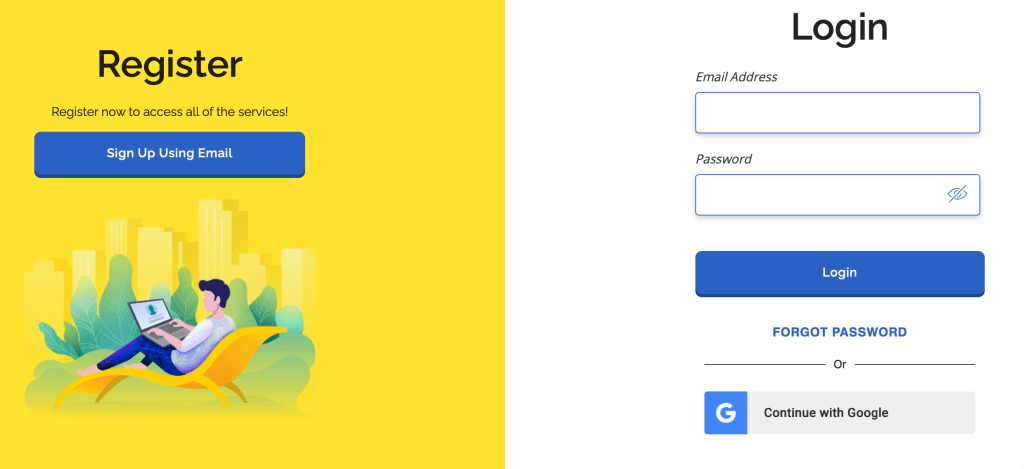
Enter your email address and create a password to set up your account.
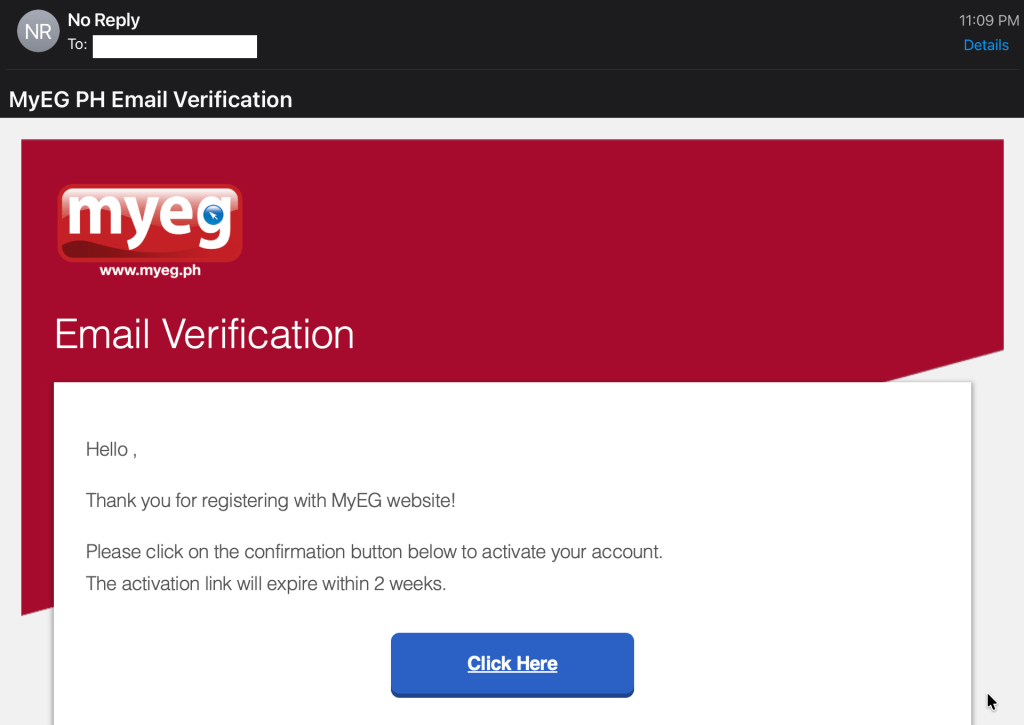
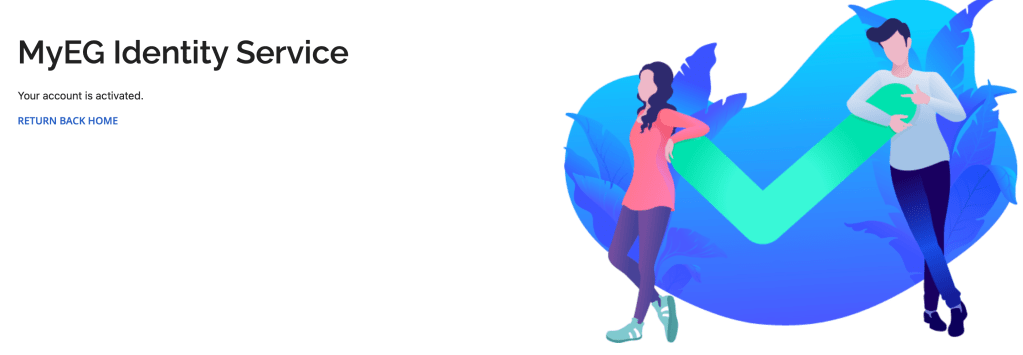
3. Verify your email address.

Check your inbox or spam folder for the verification email and click the link provided to activate your account.
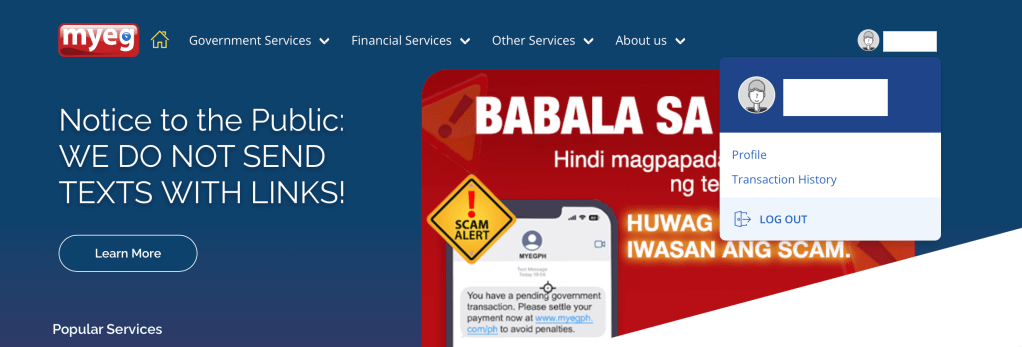
One thing I love about MYEG is how it keeps a record of all your transactions. To view them, click on your profile avatar at the top right corner, select Transactions, and use the filters to sort through your payment history easily.

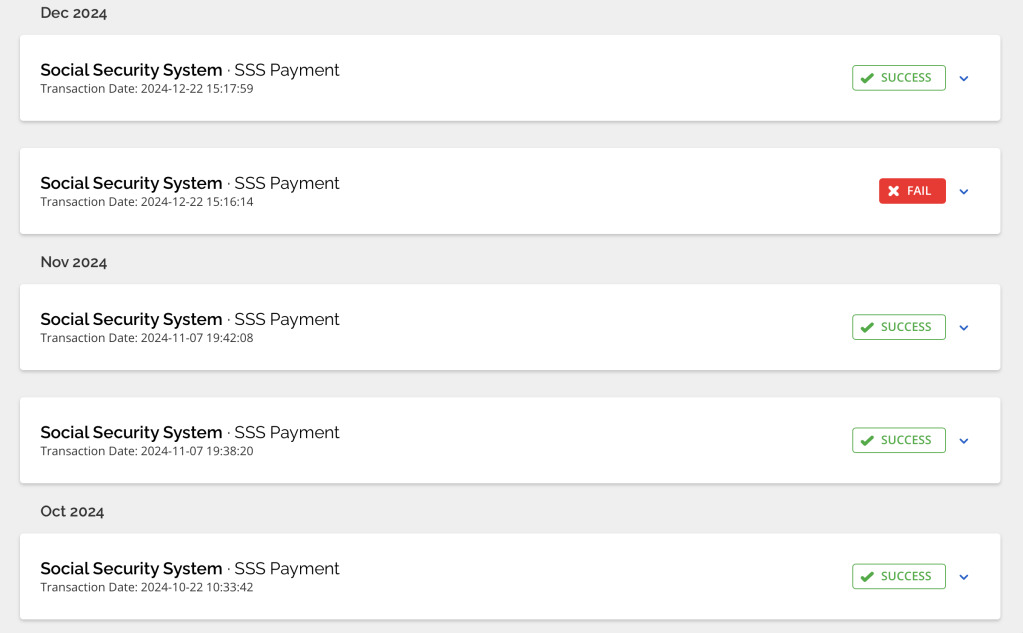
Here’s a quick clip on how I use my MYEG profile to keep my government contributions up to date.
If you found this guide helpful, feel free to share it with your freelancer friends or anyone who wants to simplify their government contribution payments.

One thought on “Setting Up a MYEG PH Account for Hassle-Free Government Payments”